Pages

Monday, April 1, 2013

All Hail, Kale!


Do you know what kale is? Yes, it is a leafy green. But it is so much more! Kale is a nutritional powerhouse that has earned the title of King. In addition to conventional antioxidants like vitamin C, beta-carotene, and manganese, kale also provides us with at least 45 different recently discovered flavonoids, including kaempferol and quercetin. Many of the flavonoids in kale are also now known to function not only as antioxidants, but also as anti-inflammatory compounds. Plus, it packs in more fiber than a typical green and the combination of vitamins, minerals and phytonutrients makes kale a healthy eater’s dream. Seriously. This is one awesome veggie!
Ok, so you are sold on the nutritional benefits of King Kale…how 
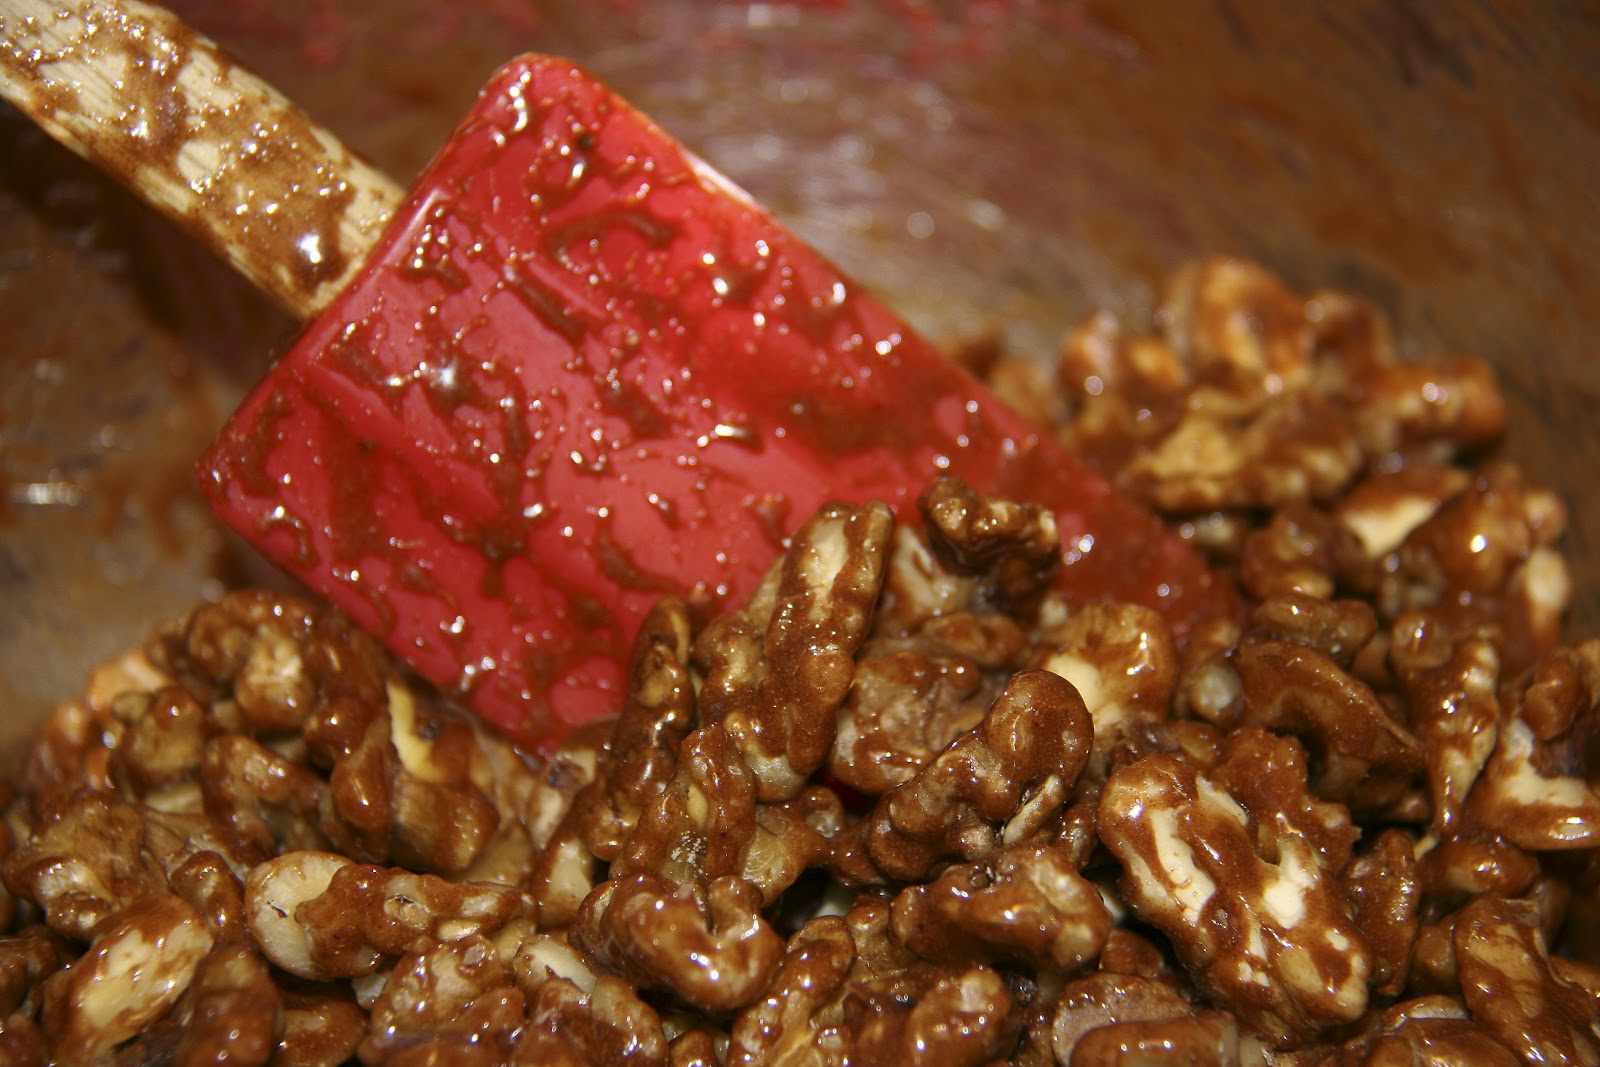
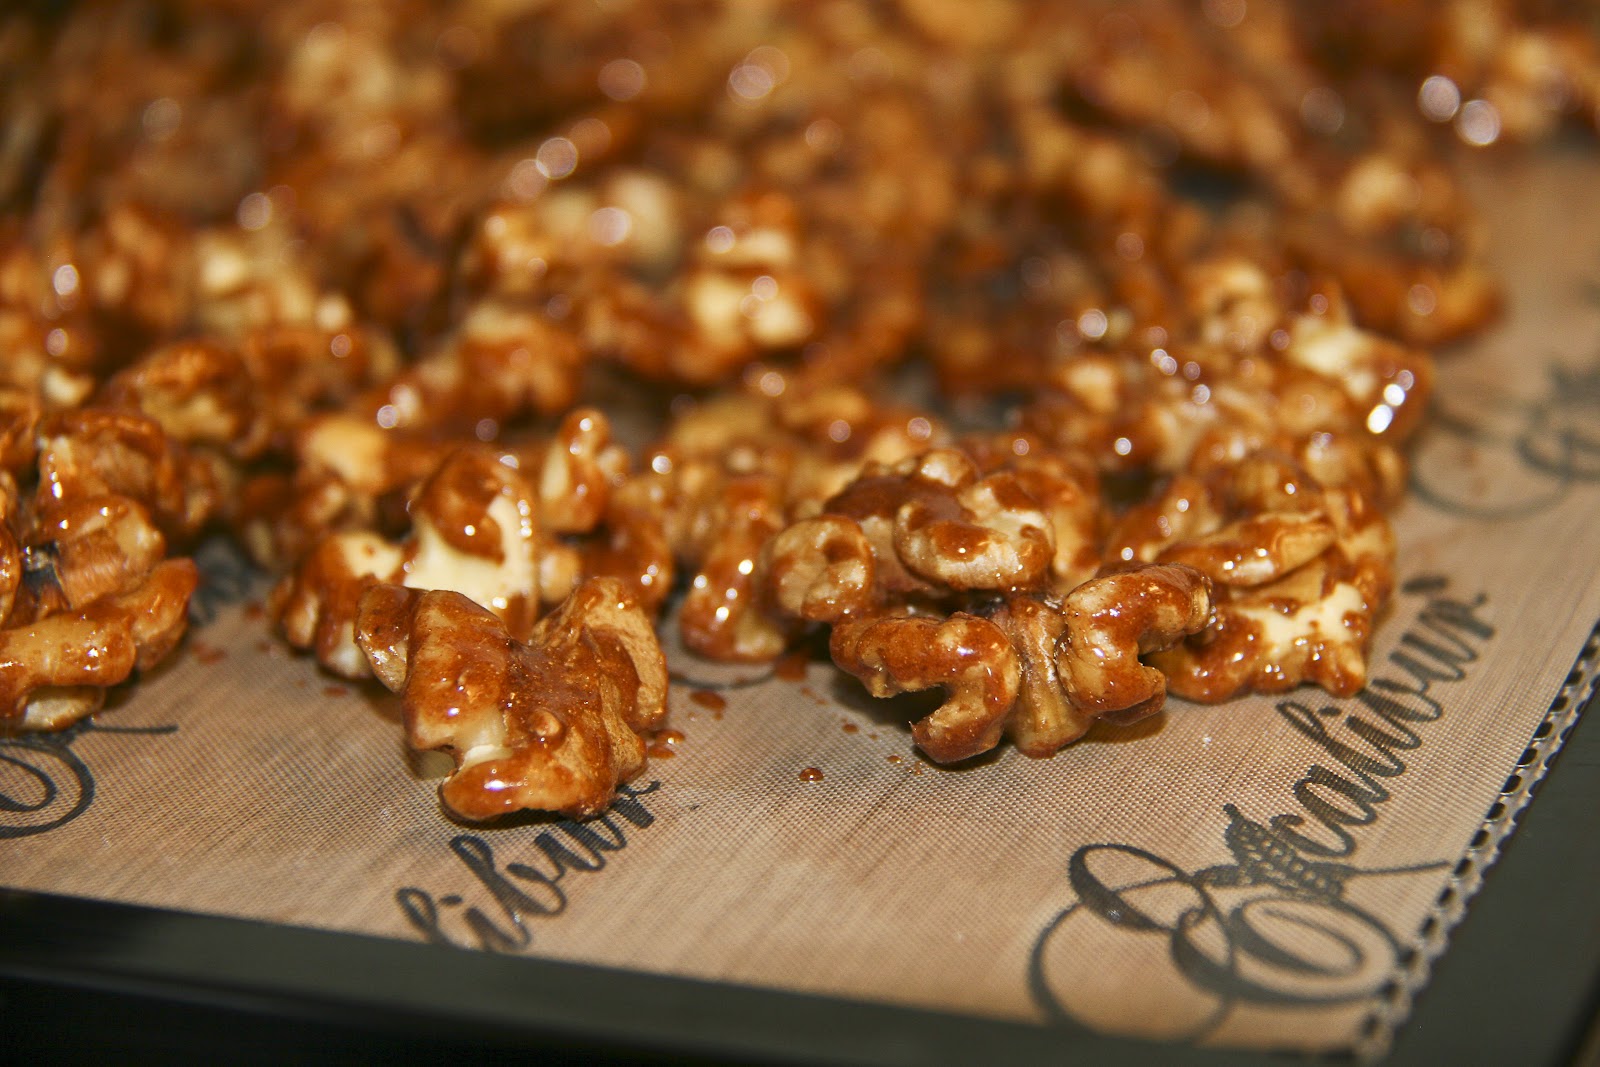
do you prepare it? I love it sautéed with caramelized onions and a splash of balsamic vinegar with toasted walnuts on top. Divine.

King Kale rocks my juicing world too! I always add a couple kale leaves to the juice du jour. Kale has a very mild flavor and doesn’t ‘interrupt’ my daily juice concoction’s flavor profile and I pack in the extra nutrients. Bang for your buck!
 
But, one of the family's favorite ways to see King Kale offered up - is in the form of Cheesy Kale Chips. Fantabulous! Here is the recipe we fiddled with until we got it ‘just right’. Don’t be afraid to change this or that…it’s all about what makes YOUR taste buds tingle! Also, I use a dehydrator because I like to leave them technically raw (very low heat for longer amount of time); however, an oven works well too!

Hope you enjoy your ‘chips’. Check back in and let me know how it goes – especially any tweaks you make!
Peace…

Cheesy Kale Chips

INGREDIENTS
Cheesy Kale Chips3 Tablespoons Nutritional Yeast*
2 teaspoons Braggs Liquid Amino
1 Tablespoon Garlic Powder
1 teaspoon dried Basil
½ teaspoon Salt
1 teaspoon Ginger Powder
½ teaspoon Onion Powder
2 Tablespoons Olive Oil
1 Cup Raw Cashews (soaked for 2 hours)
1 large bunch of curly, green kale (I made with Red Russian too!), washed, large stems removed, torn into bite sized pieces (just remember they SHRINK when dried – so not too small).
   [* Nutritional yeast is deactivated yeast; it's not alive and has a slightly cheesy flavor which many vegans like to use as a cheese substitute. It can be found at most health food stores and some big-chain grocery stores.]

PREP
Put all of the coating ingredients into a food processor or Vitamix. Blend until smooth. Using your hands, massage coating onto kale pieces making sure you get it inside the curls. I’ve found leaving the kale a bit damp helps the process along.

Place the coated kale pieces on teflex sheets (they don’t have to be flattened out) and dehydrate at 105⁰ overnight or until coating feels dry. Now, you can slide them onto the mesh screen and continue to dehydrate until they are very crispy (3-4 more hours).

OVEN METHOD: Place on cookie sheets and bake in a 200⁰ oven until they are dried out and crispy (45 – 60 minutes).

Eat ‘em up! Enjoy…

Sunday, October 21, 2012

Volunteering


Autumn… falling leaves, bountiful harvests, a nip in the air, and a thankful heart.
 
This is the time of year we see the world with softer eyes, clearly noticing those less fortunate than ourselves. As thanks for our own abundance, and persistently tugging at us like a toddler on his mother’s skirt, is our need to do something ‘good’ for someone or something. It is part of the human condition that we are drawn to helping one another. The Independent Sector reports, “according to the Corporation for National and Community Service, about 63.4 million Americans, or 26.3 percent of the adult population, gave 8.1 billion hours of volunteer service worth $173 billion in 2010.1 For the latest information, please see www.volunteeringinamerica.gov. “1

Wow! Imagine if the percentage was a mere 10 percent greater or included the youth of this country. That is incredible power from a renewable resource…with no negative effect to the environment!

The ROI (return on investment) from time volunteered is no longer an intangible. We not only reap the psychological or spiritual reward, but the physiological reward as well. For adults the Corporation of National and Community Service issued a report in May of 2007 that stated, “Volunteers have greater longevity, higher functional ability, lower rates of depression and less incidence of heart disease.” 2
 
Tweens (as my niece refers to herself!), or teens, are becoming a formidable volunteer force in this country due in part to the service-learning educational method. Studies show improved student performance in academic achievement, stronger social and personal skills, and civic involvement. One study followed students for 15 years following graduation from High School. Results showed that High School students involved in service-learning were, on average, civically involved in their communities and voted more than students who did not participate in a service-learning program.

 
Great news for everyone! Not only does volunteering, or selfless service, improve your community, your world and your soul -  but your mind, health and longevity as well!    Wait…..did I say…selfless service. Now that is an oxymoron for most teens and some adults, but herein lie the beauty of volunteerism. As the former First Lady, Barbara Bush so eloquently put it, "Giving frees us from the familiar territory of our own needs by opening our mind to the unexplained worlds occupied by the needs of others."  I concur! Now get out there and volunteer for your own well being as well as the well being of others.

Instead of only allowing the philanthropic urge speak to us during the holiday season, let’s make it a year round commitment. There are many deserving charities in each corner of the world. Finding one that fits us is easier than ever before. You can start with these:

  • VolunteerMatch.org boasts having the largest online network of non-profits. They have an easy to use search function to help prospective volunteers find the organizational fit. There are even virtual volunteering options available for those not able to get out and about, but have internet access.


  • There are tremendous websites dedicated to helping kids find a volunteer organization. Inspiring sites such as KidsHealth.org supported by the Nemours Foundation, speak to the teen, not at them, explaining the benefits of volunteering.
 
  • Non-profits have compelling resources at their disposal on sites like Civic Reflection that force an earnest look at civic life by utilizing Literature as its catalyst. If you belong to an organization this is definitely worth a peek!

 Ready?... Set?... Make a difference!


Friday, April 6, 2012

Glazed Walnuts


Living a sustainable life means more than recycling, gardening and car pooling. When Jerry and I started on this journey we sat down and talked about what ‘living a sustainable life’ meant to us. After careful thought, and really great discussion, we came to the conclusion that if we wanted to be successful – as in any venture – we would require a firm foundation. Hence, the idea of building blocks was born. We defined our building blocks for a truly sustainable life as; Food, Shelter, Transportation, Energy and Health. Of course there is much more involved, but these building blocks, we decided, are our foundation.

Sustaining your health so you are able bodied and ready to do things for yourself is a key component. We are not the poster children for healthy lifestyle…yes, we have a few vices or bad habits…BUT…we do strive to live a healthy lifestyle. One of the challenges I faced (I’m the head cook here!) was finding healthy alternatives for snacking. You can become overwhelmed when you start to research nutrition and begin to sift for truth from fiction. I’ve made up my mind that is all about balance.

When looking for a snack to replace the candy coated chocolates that find their way into the pantry, I had a goal. I wanted to find something Jerry would really like and it would provide a benefit – besides caloric intake. I found it! Walnuts. Studies have shown Walnuts to be heart healthy because of the omega-3 fatty acids they provide. To the extent that the FDA said walnuts would be considered “new drugs” and as such would require a new drug application to become FDA-approved.”1  


Now I was on a mission. I played around with the recipe until I came up with this yummy treat. I use my dehydrator and keep them on a low temperature so they are technically still ‘raw’, but some people find raw nuts harder to digest and a nice toasting in the oven will work well too. Give these a try and let us know what you think!

Glazed Walnuts

Ingredients:


1/3 C. Organic Raw Agave

1 Tbl Organic Cinnamon

1 tsp Ground Ginger

½ Tbl Carob Powder

1 tsp Vanilla (homemade – extra yummy J )

5-6 C Organic Raw Walnuts

Directions:

Mix the agave, cinnamon, ginger, carob and vanilla in a decent sized bowl. Once blended well, add the walnuts and toss. You want a nice coating on all the nuts – not swimming in it!

This is where you decide...

Dehydrator Method:

Spread mixture evenly on a Paraflexx® sheet (parchment paper will work as well) – makes about two trays. Dehydrate them at 105 for approximately 5-6 hours. The timing depends on several factors (humidity, personal preference). We like our Glazed Walnuts to not feel tacky and have a bit of a crunch, but you do whatever suits your tastes.

Oven Method:

Spread mixture evenly on a silpat baking mat (parchment paper will work as well) – makes about 1 large cookie sheet. Toast them at 200 for 20-30 minutes. Again, this is a personal preference. Just keep a close eye on them if you use the oven.

Enjoy!


Resources:


Sunday, March 18, 2012

Our Newest Addition: Aquaponics

Pin It
Started on 2/14/12 - Joni's Valentine's present...
Aquaponics, what is it? It is growing plants and vegetables using fish to supply the nutrients for growth. My wife and I have been growing vegetables in our backyard for the past eight years. We began gardening to have better control over the food we put in our bodies. I am sure, if you are reading this, you too must be looking for a way to provide better food than what is available in our stores. We constantly hear about all the chemicals that are used in our food. It’s kind of scary if you look too deep into what goes into the processing and growth of our food supply. Anyway, that’s not what this bit of information is about. It is about helping you grow your own food in your own backyard, porch, balcony, or inside a room not being used.

Living in sunny Florida can be a challenge when it comes to growing vegetables successfully. There are bugs, torrential rains, heat and sand instead of dirt… just to mention a few of the challenges! We have Earth Boxes, No-Dig gardens, Auto-Pots, Square Foot Gardening (raised beds) and Hydroponic systems. Each has their advantages and disadvantages and we will cover each of these in future posts.

Not having a 100% success rate with any of the above systems, I began to look for yet another way of growing food. This is when I came across Aquaponics. After doing a little research I decided to give Aquaponics a try. There is a wealth of information on the internet and several websites that have been very helpful. (I will list the links at the end of this article.) There are a number of reasons for giving this a try. However, know going in that there is a little more than just sticking a seed in and waiting for it to grow. By doing a little homework and reading, you can save yourself a bunch of headaches and failures.

Everything is thriving...
I suppose this is where you decide to either buy a system or build your own. I prefer to build my own for the same reasons I grow my own food, self sufficiency.  I chose to begin with a small system, very basic and not a lot of expense. The construction part is probably the easiest part of Aquaponics. I put together my Aquaponic system with just a few tools and some parts which can be purchased at a local hardware (Lowes, Home Depot, etc.). Like anything - I guess you can jump right in and construct a big system or just try a small system to keep the learning curve short and not too expensive. Let’s get to the guts of the construction process.

First, I decided to go with a growbed 2 feet by 3 feet by 8 inches deep which gives 6 square feet of growing space. Perfect for a patio salad garden! Those familiar with square foot gardening will appreciate this. As with a square foot garden, my research revealed that you can grow more plants in a smaller space with Aquaponics. I purchased a mixing tray from Lowes. Most of the research suggested a depth of at least 10 inches, but I couldn’t find one that met these measurements so I went with what was available.  So far - no regrets with this tray.

The growing media for our tray is a mixture of Hydroton (expanded clay balls used in soilless growing systems) and pea gravel. You can use lava rock as well. It is important to make sure the media you choose doesn’t have limestone in it, because it makes the Ph too high. You can test the grow media by placing a little of it in white vinegar – if it bubbles then there is limestone in the mix!

Next, you will need something for the fish.  The system is on our patio, so I wanted something that was pleasing to the eye. I purchased a large planter pot which held about thirty gallons of water.  PVC pipe and fittings round out the main components of our system. All that was left was to add a few gold fish, air stone, pond pump and presto – we were in business.
After a month of growth...we added strawberries to the mix!

This article is intended to give you a glance at our first system….please use the references below to further explore this grow method…  We will post a detailed description as we build our next system… Yes, we are already planning a bigger one! With Tilapia….and solar power…and….ah, to dream…

~Jerry

RESOURCES:
http://aquaponicscommunity.com/  Great forum - knowledgeable and helpful growers.
http://www.aces.edu/dept/fisheries/education/documents/barrel-ponics.pdf    Free eBook

http://www.backyardaquaponics.com    Plenty of info on basics with people ready to help!
Pin It

Sunday, March 11, 2012

DIY Sticky Traps

These save us bunches of $$$$!
Pin It
Maintaining an organic approach to gardening can be a maddening experience for gardeners and growers. Us included. This is especially true when it comes to aphids and leaf miners. We have found sticky traps do a fabulous job of keeping these marauders in check. Plus, sticky traps are a great early warning system because you can see the little buggers and get a heads up when they’ve decided to invade.  We use them regularly!

There are two colors that the most notorious pests seem to gravitate toward – yellow and blue. Yellow is an attractant for Whiteflies, adult Fungus Gnats, winged Aphids and many other unwanted garden visitors. Blue is an attractant to Thrips and Leafminers and people report great success when used around roses.
The whole do-it-myself thing started nagging at me. I wanted to make my own instead of buying pack after pack of the little treasures.  That is when I found a paint-on sticky coating made by Tanglefoot and scooped it up. I had some old file folders in yellow and blue and decided they would be firm enough for greenhouse sticky traps. However, I would suggest using plastic plates or plastic file folders for outside jobs. The only thing lacking was a way to hold them up or stake them in the ground. Jerry is ingenious and of course had an immediate solution! Here is how we did it…

Materials
Tangle-Trap Brush On Sticky Trap Coating
  • Tangle-Trap Brush On Sticky Trap Coating
  • Yellow or Blue paper or plastic squares
  • Galvanized Steel Wire (we had 19 gauge – lower the number higher the gauge)
  • Piece of ½” PVC pipe to help make the stakes

Steps

1.    Cut your yellow and blue material into squares (size and shape is up to you).

2.    Make stakes by cutting a section of wire and using the PVC tube to wrap a loop – three go-rounds should do it.


3.    Paint a thin (1/16”) coat of Sticky Trap Coating over front and back of square. (It really is sticky – so be careful of your hands/surfaces!).


4.    Slide card into loop and place in the garden.


It is recommended to place the traps about 3-7 feet apart within or just above plant foliage. When we need to hang sticky traps in the seedling greenhouse we use a binder clip and a bread tie to secure them.
Bottom line….these DIY sticky traps work and are much more economical for us! You can find Tangle-Trap Brush On Sticky Trap Coating for around $8 for an 8 ounce can and use any yellow or blue paper/plastic you find. I imagine we will get hundreds of sticky traps from this one can. When compared to approximately $1 a card for the pre-made sticky traps, I’d say this is the sustainable avenue. For the pocketbook anyway! J

Let us know if you give it a try and what your experiences were! We would love to hear from you!

~Joni
Pin It

Saturday, February 25, 2012

Composting: A Refresher Course

Pin It
Every time I toss out a scrap of apple peel in the trash bin I have serious pangs of guilt. Grandma always said, “Waste not, want not!”  Coming of age during the Depressions was her teacher and I take her life lesson to heart. I’ve used all our compost in the bins prepping the beds for Spring and need to start anew. For some unexplained reason (possibly attributed to my potty training or whatnot…) there is a part of me that becomes paralyzed into inaction with the idea of doing ‘it’ wrong. Makes no matter what ‘it’ is either! Thankfully there is the other side of my personality that shouts “Just do it!”, and off we go! Time to get on with it…

Composting was one of the first projects we undertook on our road to sustainability. If you haven’t started, get busy! It is simple with a huge return on your investment. What is the investment? Time mostly. Here are the What?, When?, Where? and How? of composting.

What is composting? It is a mixture of decayed plants and other organic matter. In other words, instead of tossing apple peels in the trash bin, you toss them into a compost pile and let them become a rich and sexy soil enhancer!


When do I compost? Always. It is a perpetual kind of thing. Decomposition occurs naturally in nature. The trick for us is to help the process be more efficient. There are two types of composting; ‘cold’ and ‘hot’. Decomposing matter creates its own energy (ie: heat). When we harness the power of the microorganisms, temps in the center of a compost pile can reach 160 degrees Fahrenheit. To understand ‘cold’ composting, think of a forest. The dead wood and fallen leaves will decompose over time, but the temperature never gets that high. This is why it takes so long. For our purposes, we are after a ‘hot’ bed of decomposing goodness.

Where do I compost? There is a fact you need to understand about decomposition – it can get nasty. Balance is key. The correct mix of green and brown materials will keep the compost pile in harmony and ward off the nasty. In the event balance isn’t met, it is a good idea to place the compost pile in an inconspicuous area. Although, you do want it handy to access every day. There are two ways to do this; containers or open bins.

Our first go at composting was an open bin. There is a risk of critters and a lot of pitch forking going on in this system. It wasn’t long before I opted for a container. The first little beauty was the Envirocycle. I like the ease of use in this little guy, but I soon realized we needed more composting space. We added a larger tumbler, which I love, but for the life of me cannot find the name of it! Now, I use the smaller tumbler for the finished product. The compost can continue to mature, but is ready for use. Works for us. You’ll have to research ways to control the pile and see what works for you. Nirvana would be allowing chickens to peck around it, but alas we are in an area which (currently!) doesn’t allow chickens!

How do I start? The microorganisms are the workhorses of your compost and are similar to you and I. Really? Well, kind of… These good little guys need food, water and air – just like us. They do not need a perfect climate to exist (like us), but will be more prevalent and work more efficiently if the environment is right (like some of us).

The air and water are pretty easy to handle – it’s the food that trips us up. Like us, the microorganisms thrive on a balanced diet. Their diet consists of ‘Greens’ and ‘Browns’. Greens are high in nitrogen and are the protein source for the little guys. Browns are high in carbon and provide their energy.

Here are some examples:   
GREENS (Nitrogen)
BROWNS (Carbon)
Moist plant matter
Leaves
Coffee grounds
Pine needles
Food waste
Lint from dryer
Vegetable scraps
Cardboard, shredded
Manures
Straw
Seaweed
Newspaper, shredded

Remember the bit about balance? Extremely important here. If you have too many Greens you will notice an odor that is far from pleasing. This means you need to up the Browns to find your balance again.

Here on the homestead, we know we are composting to create great garden soil, but we are also doing it to cut down on the amount of trash departing the curb each week. Look at everything you are about to toss out – is it either a plant or animal material? When you look at it – ask yourself if it is ‘Green’ or ‘Brown’.

To summarize:         Air + Water + Carbon + Nitrogen = Compost
§  Use equal amounts of "Greens" and "Browns."
§  Mix together a variety of ingredients.
§  Shred or chop all ingredients, if possible.
§  Build the pile large enough to retain heat.
§  Turn or aerate the heap regularly to let in the air.
§  Keep the pile as moist as a damp sponge.
There is a ton of info in the web concerning composting and thousands of books published on the subject – just try not to get overwhelmed into inaction. It isn’t that difficult and if the nasty comes to call on your compost pile – it is easily overcome (trust me!). Just do it!

Happy composting…
Pin It


Friday, February 17, 2012

Inner Peace

Pin It Today is the kind of day that it is hard to judge time by the sun. Today is the kind of day that makes me compassionate to my friends in the North. Today is the kind of day for introspection. We have been so busy preparing our dirt and hydro gardens for spring that a rainy grey day is a welcome repose. Baking bread was on the agenda today and as it rises, I am thinking about seeds. Not the ga-jillion seeds I yet need to start, but the seeds we nurture inside ourselves.


When things are not running along smoothly it is easy to seek escape. Instead of looking externally for comfort with our “grass is always greener” mentality, it is amazing what a look internally can accomplish. A deep breath, along with a realization that we are able to shake off our own anxiety, does amazing things for our spirit. It is not always easy, but with practice, bringing your awareness inward and consciously calming your mind relaxes your mind and body, bringing treasure. This treasure is peace. Finding your seed of peace inside and nurturing it gives you a source to draw from when the daily grind gets a little unsettling.
 

Before I started a yoga practice I heard the term “be in the moment” and I thought it was a bunch of new age gobbly gook. Not so. Words can’t do the phrase justice. Perhaps that is why it sounds ‘out there’ to so many people. I assure you, once you take the time to quiet your mind and just ‘be’ it is amazing. Once you find your seed of peace you are able to return whenever needed. It gives you a clearer head when dealing with tough issues and provides an inner calm that can’t be found anywhere else.


Living a sustainable life includes making sure you are strong and resilient. Take the time to tend the garden of your mind and reap what you sow! If you are like me meditationhttps://www.assoc-amazon.com/e/ir?t=moxi0e-20&l=ur2&o=1 is not easy. I found using guided meditation helped me train my brain to slow down enough for me to quiet my mind. Check out these guided meditationhttps://www.assoc-amazon.com/e/ir?t=moxi0e-20&l=ur2&o=1 titles for one to help you get started!

Peace,
~Joni